Instrument Menu Selection
Use for manual operation and monitoring the state of the instrument.
|
Additional controls are present when Allow calibration is selected in the Maintenance > Advanced view. Changing calibrations can affect the performance of the instrument. Make changes only under the direction of a Micromeritics Service Representative. |
| Component | Description |
|---|---|
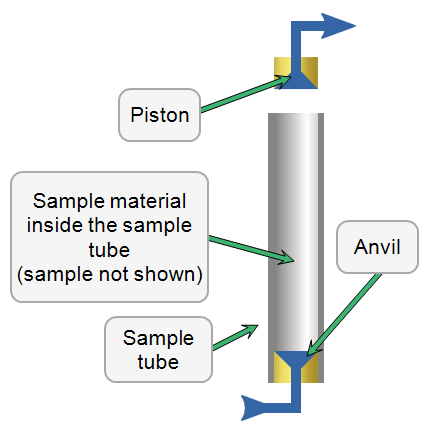
| Anvil | Anvil with O-ring inside sample tube. A brass plug with filter paper is placed between the sample material and the anvil. |
| Piston | Piston with O-ring inside sample tube. A brass plug with filter paper is placed between the sample material and the piston. |
| Sample tube | Steel, open-ended sample tube. |

| Field or Button | Description |
|---|---|
| Disengage [button] | Tap to raise the piston head above the sample tube. |
| Engage [button] | Tap to lower the piston head to inside the sample tube. |
| Home [button] | Tap to lower the piston to the home position. Home position is where there is no gap between the plugs. See Home Position. |
|
Move to |
Select units of steps or cm. Enter a position or increment. The piston moves when the Move to or Move by button is tapped. |
| Power Off | On-screen message that displays when power to the stepper motor has been powered off. |
| Shield Off | On-screen message that displays when the safety shield is not in place. All buttons are disabled until the safety shield is in place. |
| Tare Pressure Gauges [button] |
Use if either pressure reading is not close to zero when a sample tube is not installed and no gas is flowing. Tap to adjust the pressure offset. This button is disabled if gas is being flowed or the piston is not in the disengage position. |
|
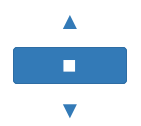
Up arrow. Tap to move the piston up in increments. Stop button. Tap to stop the piston movement. Down arrow. Tap to move the piston down in increments. |
| Return to Home |